How to Change Your Oil sets the stage for this informative guide, shedding light on the crucial steps involved in maintaining your vehicle’s engine health. From selecting the right tools to executing the process with precision, this tutorial covers it all.
As we delve deeper into the intricacies of oil changes, you’ll discover the nuances that can make a significant difference in your car’s performance and longevity.
Introduction to Changing Oil
Regularly changing the oil in your vehicle is crucial for maintaining its overall health and performance.
By changing the oil at recommended intervals, you can:
Ensure Proper Lubrication
Oil acts as a lubricant for the engine’s moving parts, reducing friction and preventing wear and tear.
Remove Contaminants
Regular oil changes help remove dirt, debris, and other contaminants that can accumulate in the oil over time, keeping the engine clean and functioning properly.
Prevent Overheating
Fresh oil helps regulate the engine’s temperature by dissipating heat and preventing overheating, which can lead to costly repairs.
Recommended Frequency, How to Change Your Oil
It is generally recommended to change the oil in a typical car every 5,000 to 7,500 miles, or as per the manufacturer’s guidelines. This ensures optimal engine performance and longevity.
Tools and Materials Needed
When changing your oil, it is essential to have the right tools and materials on hand to ensure a smooth and successful process.
- Oil Filter Wrench: This tool is necessary to remove the old oil filter and replace it with a new one.
- Oil Pan: An oil pan is used to collect the old oil when draining it from the vehicle.
- Funnel: A funnel helps to pour new oil into the engine without spilling it.
Types of Oil
There are different types of oil available for vehicles, each suited for specific needs and preferences.
- Synthetic Oil: Synthetic oil offers better protection and performance, especially in extreme temperatures and high-performance vehicles.
- Conventional Oil: Conventional oil is more affordable and works well for most standard vehicles with regular driving conditions.
- High Mileage Oil: High mileage oil is designed for vehicles with over 75,000 miles and helps reduce engine wear and oil consumption.
Quantity of Oil
The amount of oil needed for an oil change varies based on the vehicle’s specifications, including engine size and type.
It is crucial to refer to your vehicle’s manual to determine the exact amount of oil required for your specific make and model.
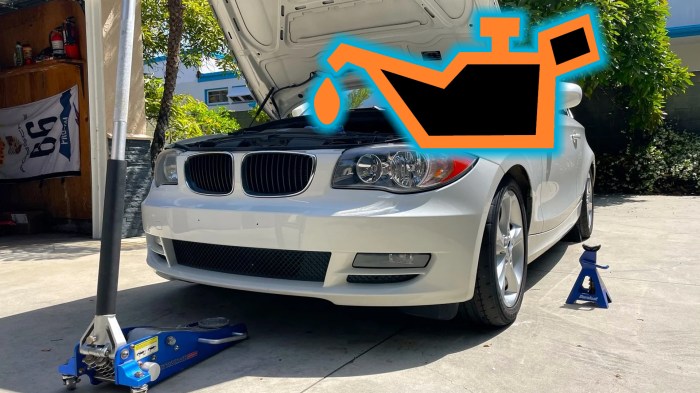
Preparing for the Oil Change
Before you begin changing your oil, it is crucial to prepare your vehicle properly to ensure a smooth and safe process.
Lifting the Vehicle Safely
To access the oil drain plug easily, you will need to lift your vehicle. Follow these steps to lift your vehicle safely:
- Find a flat, level surface to work on.
- Engage the parking brake to prevent any movement.
- Place wheel chocks behind the rear wheels to secure the vehicle.
- Use a jack to lift the front of the car, ensuring it is lifted securely on jack stands.
- Double-check that the vehicle is stable before crawling underneath.
Warming Up the Engine
It is important to warm up the engine before draining the oil to ensure it flows smoothly. Follow these tips for warming up the engine:
- Start the engine and let it run for a few minutes to warm up the oil.
- Warming up the engine will help the oil to drain more efficiently.
- Make sure not to let the engine run for too long to avoid overheating.
Ensuring Engine is Off and Cool
Before you start the oil change process, ensure that the engine is off and cool to prevent any accidents or burns. Follow these steps to ensure the engine is safe to work on:
- Turn off the engine completely and remove the key from the ignition.
- Wait for the engine to cool down before touching any components.
- Check the temperature of the engine by touching the hood lightly to ensure it is safe to proceed.
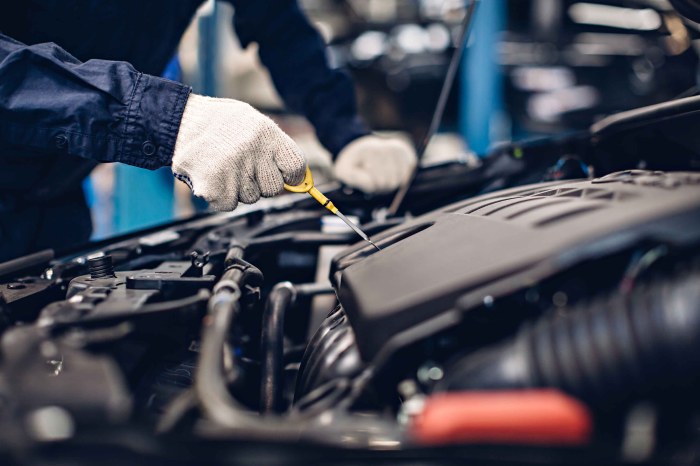
Removing Old Oil and Oil Filter

When it comes to changing your oil, removing the old oil and oil filter is a crucial step in the process. Here, we will detail the steps to safely remove the old oil and oil filter, ensuring a successful oil change.
Locating and Removing the Oil Drain Plug
To begin, locate the oil drain plug underneath your vehicle. The drain plug is typically found on the oil pan at the bottom of the engine. Use a wrench to carefully loosen the drain plug in a counterclockwise direction. Place a drain pan underneath to catch the old oil as it drains out. Once all the oil has been drained, securely tighten the drain plug back into place.
Removing and Replacing the Oil Filter
Next, locate the oil filter, which can usually be found near the oil pan. Using an oil filter wrench, carefully loosen the oil filter in a counterclockwise direction. Be prepared for some oil to spill out when removing the filter, so have a rag or paper towels handy to clean up any mess. Once the old oil filter has been removed, lubricate the gasket of the new oil filter with fresh oil and screw it into place by hand.
Tighten the oil filter using the oil filter wrench, ensuring a snug fit.
Checking for Leaks
After removing the old oil filter, it’s important to check for any leaks. Start the engine and let it run for a few minutes, then turn it off and inspect around the oil drain plug and oil filter for any signs of leaking oil. If you notice any leaks, immediately address them before continuing with the oil change process.
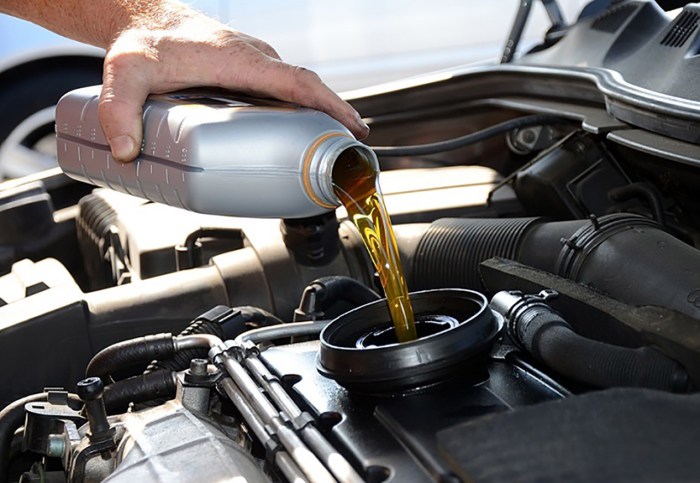
Adding New Oil: How To Change Your Oil
Adding new oil to your engine is a crucial step in the oil changing process to ensure optimal performance and longevity of your vehicle. It involves using a funnel to pour the new oil into the engine and checking the oil level using the dipstick to ensure it is at the correct level.
Using a Funnel
When adding new oil, it is important to use a funnel to prevent spills and ensure that the oil goes directly into the engine without any mess. Place the funnel securely in the oil filler hole before pouring the new oil.
Checking Oil Level with Dipstick
The dipstick is a long, thin metal rod with markings that indicate the oil level in the engine. To check the oil level, remove the dipstick, wipe it clean, reinsert it fully, and then remove it again to see where the oil level falls on the markings.
Determining Correct Oil Level
- Check the oil level on the dipstick and ensure it falls between the minimum and maximum markings.
- If the oil level is below the minimum mark, add more oil until it reaches the correct level.
- Be cautious not to overfill the engine with oil, as this can lead to engine damage and other issues.
Checking for Leaks and Final Steps
After completing the oil change process, it is crucial to check for any leaks to ensure that the new oil is properly contained and the oil filter is securely installed. This step is essential for preventing any potential damage to your engine and maintaining optimal performance.
Proper Disposal of Old Oil and Oil Filter
When disposing of the old oil and oil filter, it is important to follow environmental regulations and guidelines. Here are some tips to ensure safe disposal:
- Transfer the old oil into a leak-proof container and seal it properly.
- Take the old oil and filter to a recycling center or an auto parts store that accepts used oil for recycling.
- Do not dispose of the old oil in the trash, down the drain, or on the ground.
Finalizing the Oil Change Process
To complete the oil change and ensure everything is secure, consider the following final steps:
- Double-check the oil drain plug and oil filter to make sure they are tightened correctly.
- Add the appropriate amount of new oil as recommended for your vehicle.
- Start the engine and let it run for a few minutes to circulate the new oil.
- Check the oil level using the dipstick and add more oil if necessary.
- Clear any tools or equipment from under the vehicle and lower it back to the ground.
- Dispose of the used materials properly and clean up any spills or mess from the oil change.
Last Word
In conclusion, mastering the art of changing your oil not only enhances your vehicle’s efficiency but also prolongs its lifespan. With the right tools and knowledge at your disposal, you can tackle this essential maintenance task with confidence.